 Today’s post on photography is the fourth in a series I have done. Thus far I have covered a number of topics, including depth of field, composition techniques and thoughts on filters and digital editing of your files.
Whilst every article can be read on its own, I’d recommend you give the others a look through if these are topics that interest you.
Today I’m going to cover more topics, namely the subject of lenses, thoughts on useful accessories for your photography, as well as a couple of other tips that I have found useful for learning more about the art. Enjoy!
Lenses
If you have a point and shoot camera, your lens choice is probably not much greater than that which came with your camera. If, on the other hand, you have an SLR, then your options suddenly become very expansive indeed.
What I would suggest is that you consider the sort of photography you are likely to be doing, your budget, how you use your camera and what you are willing to carry.
For most of my photography, for example, I use a 17-85mm lens. This is a good range for a “walk-around” lens, which basically means that I don’t have to lug around a whole bunch of lenses and keep switching them all the time.
The trade off is that the image quality isn’t as perfect as I would get with a fixed length “prime” lens, but then, as I travel and move around a lot, and photography isn’t something I do professionally, I can neither afford nor do I wish to carry a large number of prime lenses.
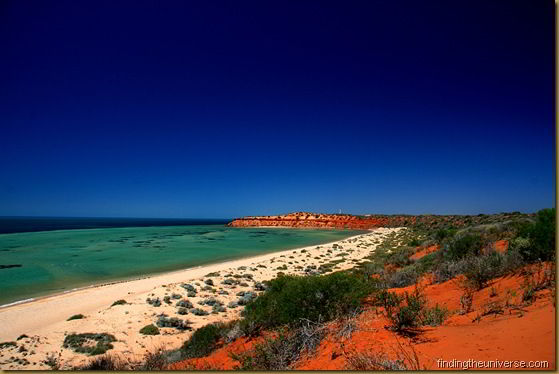
The beach at Francois Peron National Park. Landscape photography often needs a wider angle lens to get everything in shot.
If you do a lot of landscape photography, then a dedicated wide angle lens would certainly be a wise investment. Conversely, for a lot of portrait photography, a prime lens with an aperture that will open up nice and wide will let you have great control over your depth of field. Nature photographers would probably want something that provides them with good zoom capability for far away shots, or something macro capable for close up work.
So decide what you are likely to be shooting, and get a lens appropriate for that. Remember that it is likely to be a long term investment, so don’t skimp too much if you can afford it. The kit lens that comes with your camera is probably a great place to start from, and if you find that it is hampering your style, start to think about upgrading.
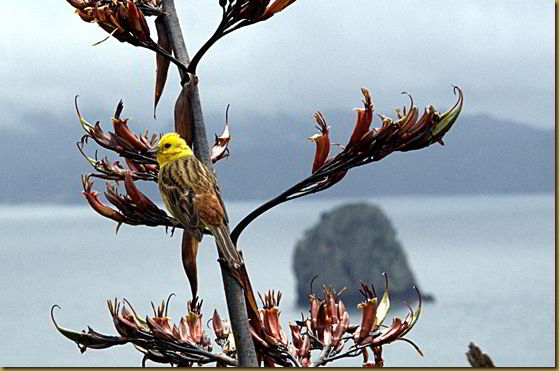
A bird on a branch near Cathedral Cove, Coromandel Peninsula. If I had a proper telephoto lens I would have been able to get a much clearer shot of this little chap, instead of the slightly noisy crop of a much larger shot that I am showing here.
Whilst on the subject of lenses: I’d always recommend you get a filter for the end. Even if it’s just a clear filter, it will protect the expensive glass on your lens from minor scratches and is a lot cheaper to replace than a whole lens if damaged.
When buying, you just need to check the size of your lens, and buy an appropriate filter to match. Lenses come in all sorts of widths, so be prepared to have to buy filters to match each lens you have.
A final thought on lenses. More expensive kit does not necessarily lead to better images. Composition and practice are more likely to result in images that you are happier with than an expensive bit of glass – to start with the lens that comes with your camera (most come with a kit lens) will more than likely tide you over for a while.
However, once you have mastered the basics, and you feel that the equipment is really holding you back from shooting how you want to, or isn’t letting you get close up or wide enough for your favourite type of shots, then do your research, set yourself a budget, and go for it.
Other accessories
Spare battery and memory
I would advise that at least one spare battery and spare memory card are essential accessories. Running out of battery life half way through a trip is a hassle that can be easily avoided, much the same with memory card.
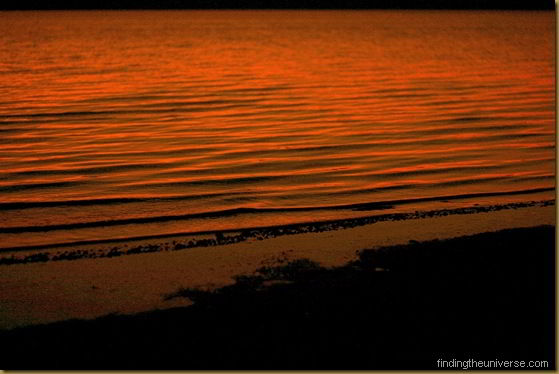
Lake water at sunset, Western Australia. This shot was taken with a 50mm prime lens with a wide open aperture for a better depth of field effect, as well as to capture as much available light. A prime lens is often lighter as well, helping to reduce wobble.
A camera bag
A decent bag is also a good investment. It will protect your camera from knocks and scrapes, and give you room to carry around all your lenses and other gear that you may accumulate. When buying, work out what you are likely to be carrying in terms of gear, and buy something that will fit everything in cosily.
Tripod
A tripod is another invaluable accessory, even one of the smaller options. Sometimes there just won’t be enough light to take photos with, or a convenient rock to balance the camera on. Even when there is plenty of light to work with, a tripod will still reduce any blur resulting from hand shake, and deliver crisper, sharper images. Plus it will let you take the same scene multiple times, perhaps for composing an HDR shot, or achieving interesting effects in post processing.
Remote switch
One other accessory I find useful for certain shots is a remote switch for the camera. This lets me take pictures without having to depress the shutter, which is useful for two reasons.
First, the action of depressing the shutter release button can cause movement, even when mounted on a tripod. This is especially the case for longer exposures.
Second, taking shots that require exposures longer than 30 seconds, the BULB setting on my particular camera, are not possible without a remote. So those long exposure night time shots wouldn’t work quite so well.
Stars wheeling over the Western Australian outback. This shot wouldn’t have been possible without a remote shutter release and a tripod.
The Manual
I know. Manuals aren’t amazing fireside reads. They are often weighty tomes filled with obscure technical information. The thing is, modern digital cameras can be pretty complex beasts. Sure, you can stick them on automatic and let them do everything for you, but it won’t be long before you want to get underneath the skin and start editing settings to see if you can’t improve your shots.
The manual is the place where you will find out what all those dials and buttons and settings actually mean, and how you can use them to improve what you are doing. So find a moment, and take a bit of time to get acquainted with the kit you have bought.
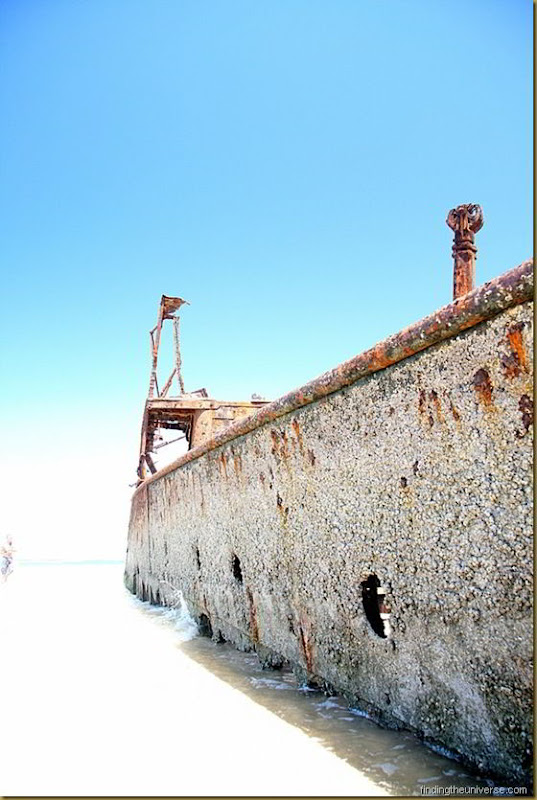
Wrecked ship on the beach of Fraser Island. This shot was deliberately over exposed to wash out the sea and sand, leaving just ship. Most cameras can over and underexpose – and the manual will tell you how.
Take it with you!
The last thing I'm going to say in this post is that you should try, wherever possible, to take your camera with you. However great a photographer you are, if you don’t have your camera with you then you’re not going to be capturing great images. The more photos you take, the more you will learn how the light works, how to compose shots and how to use it. You will improve no end.
Hopefully you have found this post interesting and useful. If you like the photos in here, you can take a look at more images from my travels both in my photobox gallery or on my facebook page.


No comments:
Post a Comment